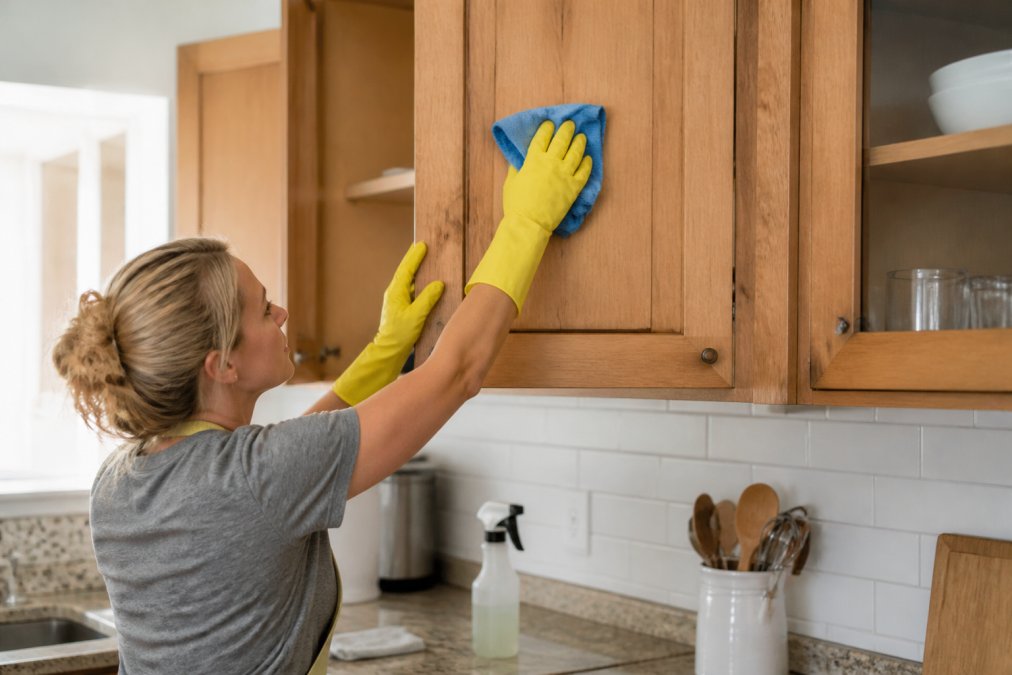
Deep Cleaning Kitchen Cabinets: A Step-by-Step Guide
Table of Contents
- What You'll Need: Tools and Supplies for Deep Cleaning Kitchen Cabinets
- Preparation: Empty and Inspect Your Cabinets
- How to Remove Grease from Kitchen Cabinets
- Best Degreaser for Kitchen Cabinets and Safe Cleaning Solutions
- How to Clean Inside of Kitchen Cabinets Thoroughly
- Cleaning Cabinet Exteriors and Hardware
- Drying, Maintenance, and Preventing Future Buildup
- Common Mistakes to Avoid When Deep Cleaning Cabinets
- Frequently Asked Questions
Last Updated: September 18, 2026
Deep cleaning kitchen cabinets is one of those tasks homeowners put off until grease buildup becomes impossible to ignore. This guide walks you through everything you need to know about deep cleaning kitchen cabinets, from preparation to maintenance, so your cabinets look fresh and stay that way.
What You'll Need: Tools and Supplies for Deep Cleaning Kitchen Cabinets
Essential tools:
- Microfiber cloths (lint-free)
- Soft-bristled brush
- Rubber gloves
- Bucket for warm water
- Sponges or cleaning pads
Cleaning solutions:
- Mild dish soap and warm water
- Baking soda paste for stubborn spots
- White vinegar for streak-free drying
- Wood cleaner for finished surfaces
Microfiber cloths trap grease without scratching and are reusable; skip paper towels. Mild dish soap works for most situations, you don't need harsh chemicals. For heavy buildup, baking soda paste handles it safely.
Preparation: Empty and Inspect Your Cabinets
Steps to prepare:
- Remove all items from inside
- Wipe down shelves to clear loose debris
- Check for damage, water stains, or mold
- Inspect hinges and hardware for buildup
Look for water damage, mildew, or rust on hardware, signs of moisture problems that need addressing before cleaning. Inspect cabinet hardware, as hinges collect dust and grease. Note your cabinet finish (painted, stained wood, or laminate) since each requires different care.
How to Remove Grease from Kitchen Cabinets
Grease buildup happens gradually as cooking oils settle on surfaces, especially near the stove, trapping dust and creating stubborn grime.
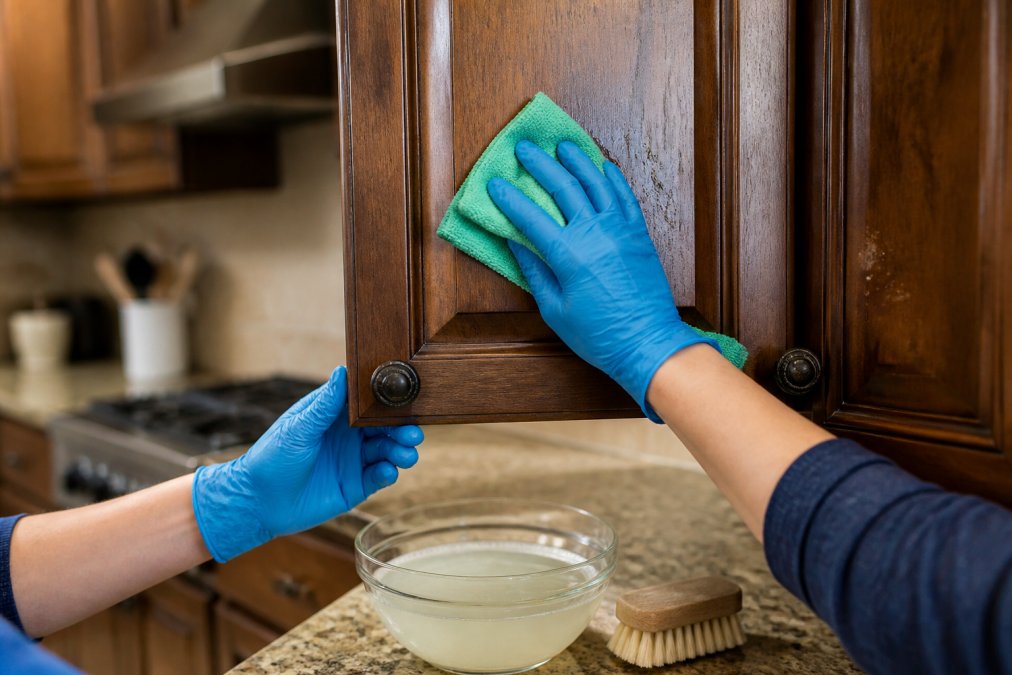
Process for removing grease:
- Mix warm water with a few drops of mild dish soap
- Dip your microfiber cloth into the solution
- Wring it out so it's damp, not dripping
- Wipe cabinet surfaces with the grain
- For stubborn spots, make a baking soda paste and let it sit for 5 minutes
- Use a soft-bristled brush to gently scrub
- Wipe again with a clean, damp cloth
- Dry immediately with a lint-free cloth
Don't let water pool on wood surfaces, moisture damage is the biggest risk when deep cleaning kitchen cabinets. Wipe and dry as you go.
Spend extra time on high-touch areas around handles and edges where grease buildup is thickest; baking soda paste is mildly abrasive without scratching finishes.
Best Degreaser for Kitchen Cabinets and Safe Cleaning Solutions
You don't need commercial degreasers for most kitchen cabinets. Choose based on your cabinet finish and preference for non-toxic ingredients.
Recommended approach by finish type:
Painted cabinets: Mild dish soap and warm water is safe and effective. For stubborn grease, use baking soda paste. Avoid vinegar (which can damage paint) and oil-based cleaners (which leave residue and attract dust).
Stained wood cabinets: Use a wood-specific cleaner or mild dish soap diluted in warm water. Never use vinegar (which dulls finishes) or bleach-based cleaners. Baking soda paste is safe for spot treatment.
Laminate and thermofoil surfaces: Use only mild dish soap and water, wrung nearly dry. Never let water pool on laminate, moisture seeps into seams and causes swelling. Avoid vinegar and oil-based cleaners.
High-gloss finishes: Use mild dish soap and water, followed by a vinegar rinse (one part vinegar to three parts water) for streak-free results. Avoid commercial degreasers, which leave residue.
Eco-friendly and non-toxic alternatives:
Natural alternatives include: Castile soap and water (1 tablespoon per gallon), vinegar and water (1:3 ratio for grease and disinfection), baking soda paste (safe for all finishes), and essential oil-infused cleaners (lemon or tea tree for odors). For wood cabinets, beeswax polish restores shine and protects; apply sparingly and buff.
Commercial degreasers work faster on heavy grease but carry risks. If using one: test on hidden areas, follow label directions, ensure ventilation, wear gloves, and rinse thoroughly. They're not necessary for routine deep cleaning and can strip finishes if not rinsed completely.
How to Clean Inside of Kitchen Cabinets Thoroughly
Interior cabinet cleaning is often overlooked. Start by vacuuming or sweeping out loose debris with a soft brush attachment.
Interior cleaning steps:
- Vacuum or brush out loose debris
- Wipe shelves with a damp cloth
- Use baking soda paste on stains or odors
- Check corners for mold or moisture
- Dry completely before replacing items
Wipe shelves with warm water and mild dish soap, paying attention to edges and corners. For odors, sprinkle baking soda on shelves overnight, then vacuum. Check for mold or mildew, especially near sinks; spray with vinegar if found. Leave cabinet doors open for several hours to dry completely.
Cleaning Cabinet Exteriors and Hardware
Cabinet exteriors take visible abuse, and hardware collects grease fastest. Most guides skip hardware, but it's where deep cleaning delivers the most dramatic improvement.
Exterior cleaning by finish type:
Painted cabinetry: Wipe with warm water and mild dish soap, paying extra attention to high-touch areas. Dry immediately. Stained wood: Use a wood-specific cleaner or diluted dish soap, wiping with the grain. Avoid vinegar. Laminate: Use only mild dish soap and water, wrung nearly dry; never let water pool.
Cabinet hardware (hinges, knobs, pulls, catches) is often the dirtiest part because it's in high-heat zones and gets touched constantly.
Step-by-step hardware cleaning:
-
Assess removability: Check if hinges, knobs, and pulls are screwed on or glued. Most modern cabinets use screws, which means hardware can be removed for thorough cleaning.
-
Remove if possible: Use a screwdriver to unscrew hardware. Keep screws in a small container so you don't lose them. Lay hardware on a clean surface in the order you removed it, so reinstallation is straightforward.
-
Soak: Place hardware in a bowl of warm water with a few drops of mild dish soap. Let it soak for 10-15 minutes. This loosens grease and grime without scrubbing.
-
Scrub: Use an old toothbrush or soft-bristled brush to scrub each piece, paying attention to crevices and the underside where grease hides. For corroded or tarnished hardware, a slightly stiffer brush works, but avoid steel wool, which can scratch finishes.
-
Rinse and dry: Rinse under running water and dry immediately with a clean cloth. Wet hardware can rust or leave water spots.
-
Reinstall: Screw hardware back in place. Check that hinges are tight and doors close smoothly. Loose hinges cause doors to sag over time.
Drying, Maintenance, and Preventing Future Buildup
Leave cabinet doors open for at least 2-3 hours after deep cleaning to allow interior surfaces to dry completely; trapped moisture leads to mold, warping, and finish damage.
Prevention strategies:
- Wipe cabinets weekly with a dry cloth
- Use a range hood when cooking
- Address spills immediately
- Maintain good ventilation in the kitchen
- Apply protective sealant annually if recommended for your finish
Common Mistakes to Avoid When Deep Cleaning Cabinets
Mistakes to avoid: Using too much water on wood (causes swelling and rust), scrubbing with abrasive pads (damages finishes), leaving water to dry on its own (encourages mold), mixing cleaning products (creates toxic fumes), ignoring hardware (where grease accumulates fastest), and cleaning without ventilation (traps moisture and odors). Always wring out cloths, dry immediately, use soft-bristled brushes only, and stick with one cleaner at a time.
Frequently Asked Questions
What is the best way to deep clean kitchen cabinets?
Start by removing all items and wiping out loose debris with a dry cloth. Use a damp microfiber cloth with a surface-safe cleaner appropriate for your cabinet material, mild dish soap and warm water works for most finishes. For grease buildup, apply a baking soda paste or degreaser, let it sit briefly, then wipe thoroughly. Clean cabinet interiors, exteriors, and hardware separately. Always spot test cleaning solutions on a hidden area first, and finish by drying everything completely with a lint-free cloth to prevent moisture damage.
How do you remove sticky grease buildup from kitchen cabinets?
Grease buildup responds best to targeted degreasers or a baking soda paste mixed with water. Apply the paste to affected areas and let it sit for 5-10 minutes to break down the residue. Use a soft-bristled brush or microfiber cloth to gently scrub in the direction of the wood grain, then wipe clean with a damp cloth. For stubborn grease, a commercial degreaser formulated for cabinets can be more effective, but always follow product instructions and ensure proper ventilation. Rinse and dry immediately to prevent streaking.
What should you not use to clean cabinets?
Avoid abrasive cleaners, scouring pads, and harsh chemicals like bleach or ammonia, which can damage wood finishes and laminate surfaces. Don't use excessive water or allow moisture to sit on cabinets, as this causes swelling and finish deterioration. Skip oil-based products on painted cabinetry, and be cautious with Murphy's Oil Soap, it can leave residue on some finishes. Never use rough cloths or steel wool. Always test any new cleaning product on an inconspicuous area first to confirm it won't strip the protective sealant or cause discoloration.
How often should you deep clean the inside of your kitchen cabinets?
A full deep cleaning of cabinet interiors is typically recommended once or twice per year, depending on cooking frequency and dust accumulation. High-traffic kitchens or homes with frequent cooking may benefit from semi-annual deep cleans to prevent grease and residue buildup. Regular maintenance, wiping spills immediately and doing light interior wipe-downs every few months, extends the time between deep cleans. For Airbnb properties or rental units, deep cabinet cleaning should be part of every turnover checklist to maintain guest-ready conditions and protect your investment.
